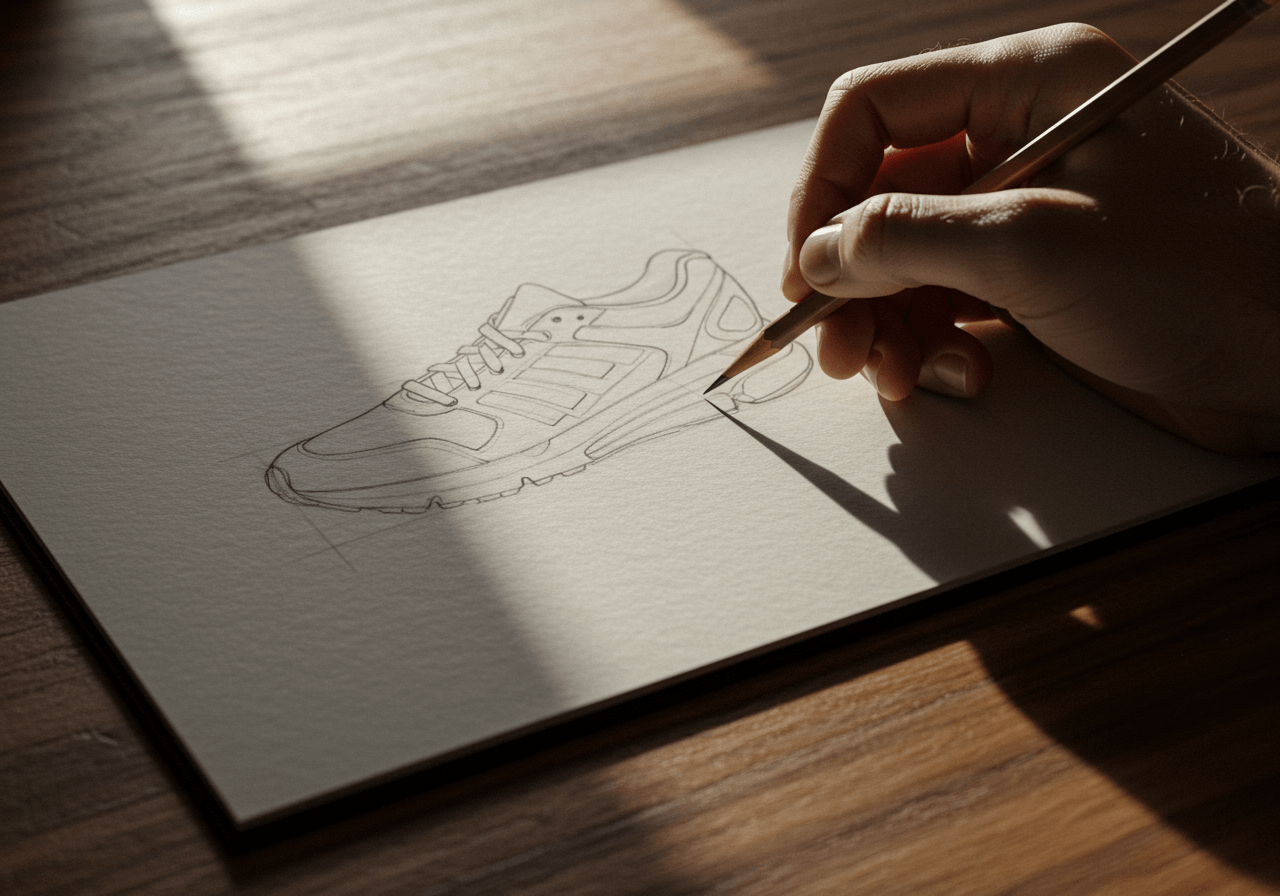
Draw Shoes Like a Pro
Ever wondered how to draw shoes that look like they could walk right off the page? Whether you’re a budding artist, a sneakerhead eager to design your next grail, or just someone who enjoys a good doodle, understanding the fundamentals of shoe illustration can unlock a whole new world of creative expression. This isn’t just about technical skill; it’s about seeing the subtle curves, the delicate stitching, and the dynamic spirit that makes each pair unique. .
Why Learn to Draw Shoes? More Than Just Footwear!
Seriously, why bother learning how to draw shoes? Well, for starters, it’s a fantastic way to sharpen your observational skills. Shoes are complex objects with interesting forms, textures, and perspectives. Mastering them can significantly improve your overall drawing ability. Plus, if you’ve ever dreamed of a career in fashion design, product development, or even just want to truly capture your favorite kicks, this skill is a game-changer. Imagine illustrating your dream sneaker design software concepts with precision, or bringing your fashion ideas to life with dynamic footwear illustrations.
Table of Contents
The Essential Tools: What You’ll Need
Don’t worry, you don’t need a fancy art studio to get started. Here’s a quick rundown of the basics:
Tool | Why You Need It |
Pencils | Various hardness (2H for light sketches, HB for details, 2B for shading) |
Eraser | A good quality kneaded eraser is your best friend |
Paper | Sketchbook, printer paper, or mixed-media paper |
Ruler/Straightedge | For initial construction lines |
Reference Images | Crucial for understanding real-world shoe anatomy |
If you’re leaning into digital art, a drawing tablet and software like Procreate, Clip Studio Paint, or Photoshop are your go-to. Digital tools offer incredible flexibility, especially when exploring intricate details or experimenting with different colorways. Plus, a good digital illustration course can really fast-track your progress here, teaching you all the shortcuts and pro tricks.
Step-by-Step: Drawing Your First Shoe
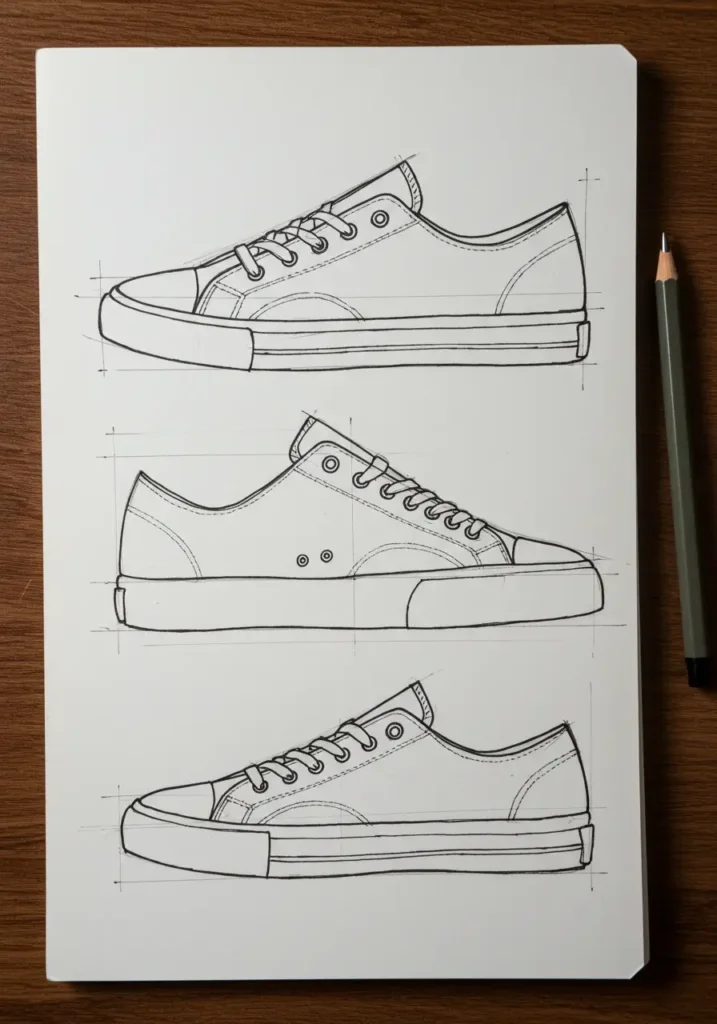
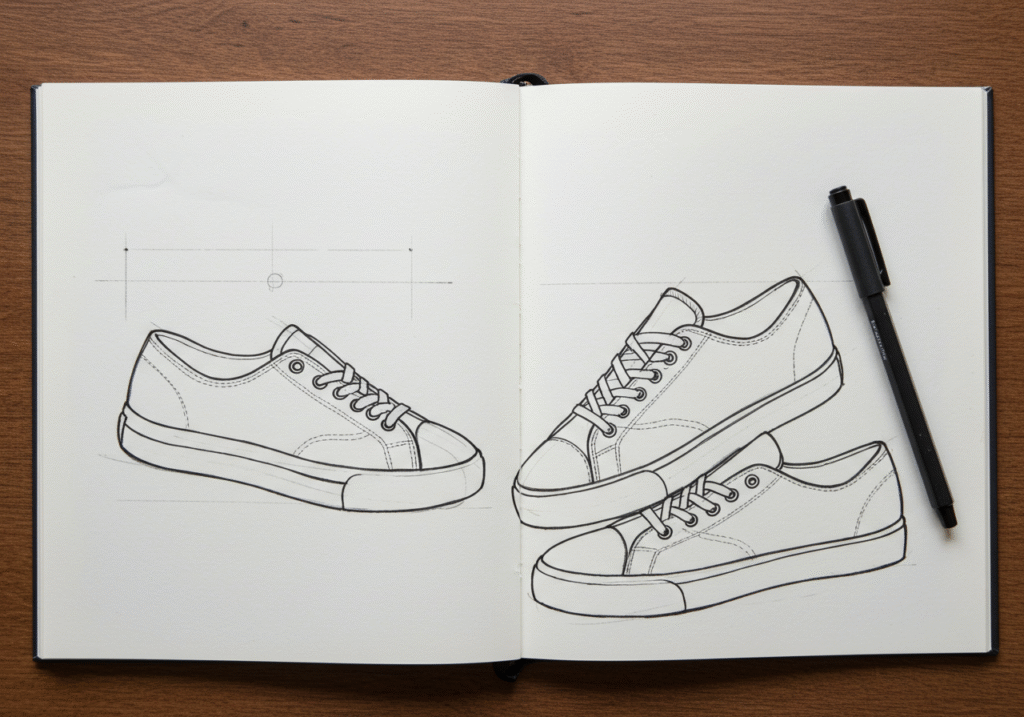
Okay, let’s get down to business. Drawing a shoe can seem daunting, but breaking it down makes it much more manageable. We’ll start with a classic sneaker, as they offer clear forms.
1. Basic Shape & Perspective
- Start with a simple box or wedge: Think of the shoe as a blocky form first. This helps establish its overall size and angle. Don’t worry about perfection, just get the basic outline.
- Establish the sole line: This is your anchor! Draw a flat line for where the shoe meets the ground.
- Sketch the general form: Lightly outline the approximate shape of the shoe, including the toe box, midfoot, and heel. Think of it like a bean or a slightly squashed oval.
2. Refining the Form & Adding Key Features
- Define the sole thickness: Add depth to your sole line. Remember, soles aren’t just flat lines, they have volume.
- Outline the upper: Shape the top part of the shoe, paying attention to its curves and how it wraps around the foot.
- Add the tongue and laces area: These are usually distinct elements. Sketch in where the tongue emerges and where the eyelets for the laces will go.
3. Detail Work & Linework
- Stitching and seams: This is where the magic happens! Look closely at your reference image and add the various stitching lines, panels, and seams. These details give your drawing authenticity.
- Laces and eyelets: Draw individual eyelets (small circles or ovals) and then thread the laces through them. Experiment with different lacing patterns!
- Logos and branding: If you’re drawing a specific shoe, don’t forget the branding! This is where that attention to detail really shines.
- Texture: Think about the materials – leather, canvas, mesh. How can you imply these textures with your lines?
4. Shading & Finishing Touches
- This will dictate where your shadows fall.
- Shading: Use softer pencils (like 2B) to add depth and dimension. Shadows typically appear where the shoe curves inward, under the sole, and beneath any overlapping elements.
- Highlights: Leave some areas untouched or lightly erase to show where light hits the shoe most directly.
- Ground shadow: A simple shadow beneath the shoe will make it feel grounded and less like it’s floating.
Beyond the Basics: Taking Your Shoe Drawings to the Next Level
- Experiment with different styles: Try drawing heels, boots, sandals, or even futuristic concept shoes. Each type presents unique challenges and opportunities.
- Focus on footwear proportion: Pay close attention to how different shoe types relate to the foot they’re meant for. A ballet slipper has very different proportions than a chunky boot.
- Digital Tools & Software: This is where things get really exciting for modern artists. Learning to use sneaker design software opens up possibilities for rapid prototyping, color experimentation, and even 3D modeling. You can iterate on designs much faster and create highly realistic renderings. There are even free online tools and apps that can get you started without a huge investment. Consider diving into a digital illustration course if you’re serious about taking your skills to a professional level. Many courses cover specific software and techniques relevant to product and fashion illustration.
Frequently Asked Questions About Drawing Shoes
Q1: What’s the biggest mistake beginners make when trying to draw shoes?
The most common snag is trying to draw the shoe without understanding its basic 3D form. People focus on outlining the silhouette first, which often results in a flat, lifeless drawing. Always start with simple geometric shapes (like a box or wedge) to establish the shoe’s volume and perspective before adding details.
Q2: How can I make my shoe drawings look more realistic?
Realism comes from observing and rendering the small details. Don’t be afraid to add subtle imperfections like creases or scuffs. Using quality reference images from multiple angles is absolutely key.
Q3: Is it better to draw from real shoes or photos?
Both! Drawing from real shoes allows you to observe them from any angle, understand their 3D form, and see how light interacts with them. Photos are great for capturing dynamic poses or specific details you might miss in person. A combination of both approaches will give you the best results. Plus, if you’re aiming for a digital illustration course down the line, getting comfortable with translating 3D objects to a 2D surface is invaluable.
Q4: How long does it take to get good at drawing shoes?
Like any skill, it varies per person, but consistency is king! You’ll see noticeable improvement in a few weeks or months. It’s a journey, not a race. The more you explore different shoe types and practice foundational techniques, the faster your progress will be.
Q5: Can I really design my own shoes just by learning to draw them?
Absolutely! Learning how to draw shoes is the fundamental first step in shoe design. With strong drawing skills, you can effectively communicate your design ideas. Many professional shoe designers started by sketching their concepts on paper. From there, you can move into sneaker design software to refine your vision and even prepare it for manufacturing. Your drawings are the blueprint!
Your Next Steps!
Now that you’ve got a grasp of how to draw shoes, it’s time to put pencil to paper! Don’t be discouraged if your first few attempts aren’t perfect. Art is about practice, patience, and persistence. Who knows, your next sketch could be the blueprint for a groundbreaking sneaker design! Happy drawing!

