How to Draw a Cat: A Simple Step-by-Step Guide
Ever looked at a fluffy feline and thought, “Man, I wish I could capture that adorable whiskered face on paper?” You’re not alone! . Think of it as a fun challenge, not a daunting task. We’re going to break it down into easy, purr-fectly manageable steps. So grab your sketchpad and pencils, and let’s get sketching!
Why Learn to Draw Cats? It’s More Than Just a Cute Picture!
Beyond the sheer joy of creating something beautiful, there are tons of reasons to dive into cat drawing. Maybe you want to immortalize your own beloved feline companion, create unique gifts for animal lovers, or even explore a new hobby that sparks your creativity. Plus, practicing your drawing skills with something as captivating as a cat can really improve your overall artistic abilities. Who knows, you might even discover a knack for pet illustration software later on!
Table of Contents
Getting Started: Your Essential Cat Drawing Toolkit
. Here’s a basic rundown of what you’ll want to have on hand:
- Pencils: A few different hardnesses (e.g., HB for sketching, 2B for darker lines, 4B for shading).
- Eraser: A kneaded eraser is super handy for lifting graphite gently without smudging.
- Paper: Any drawing paper will do, but a slightly thicker paper (like 90lb or 100lb) is nicer.
- Reference Photo: Crucial! Pick a clear photo of a cat with good lighting. Don’t try to draw from memory right away!
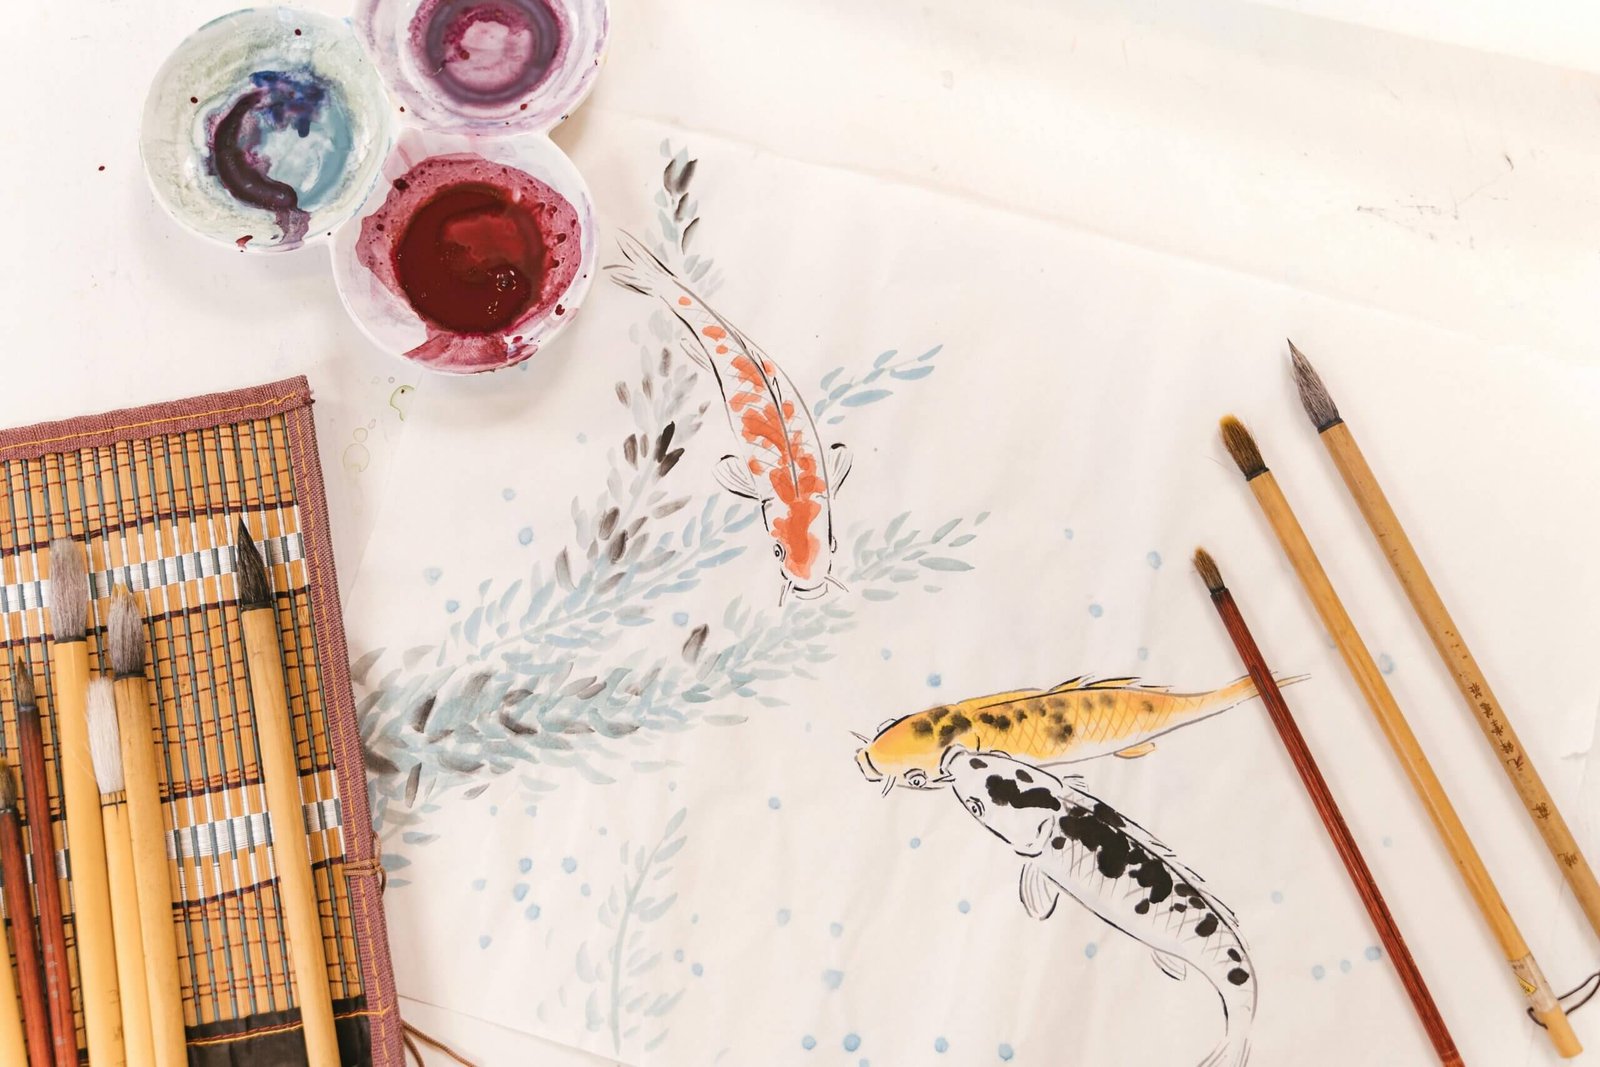
- Optional but awesome: If you’re feeling fancy, a set of pastel pencils for pet portraits can add a gorgeous soft texture later on.
The Step-by-Step Guide to Drawing Your Feline Friend
Alright, let’s get down to business! Remember, these are guidelines, not rigid rules.
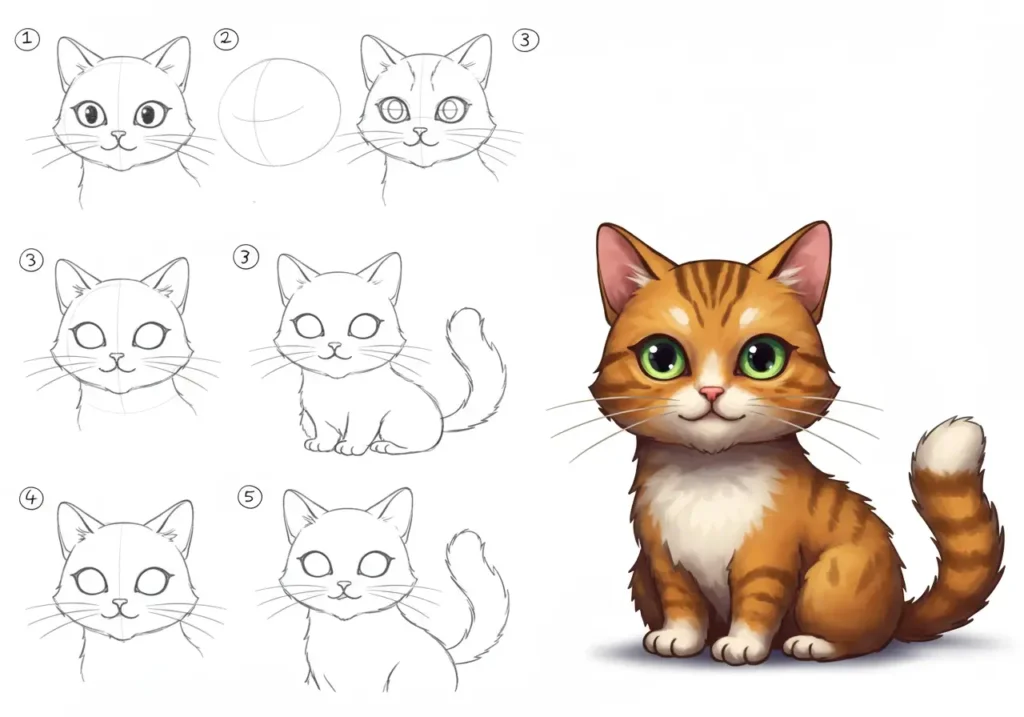
Step 1: Basic Shapes First – The Foundation
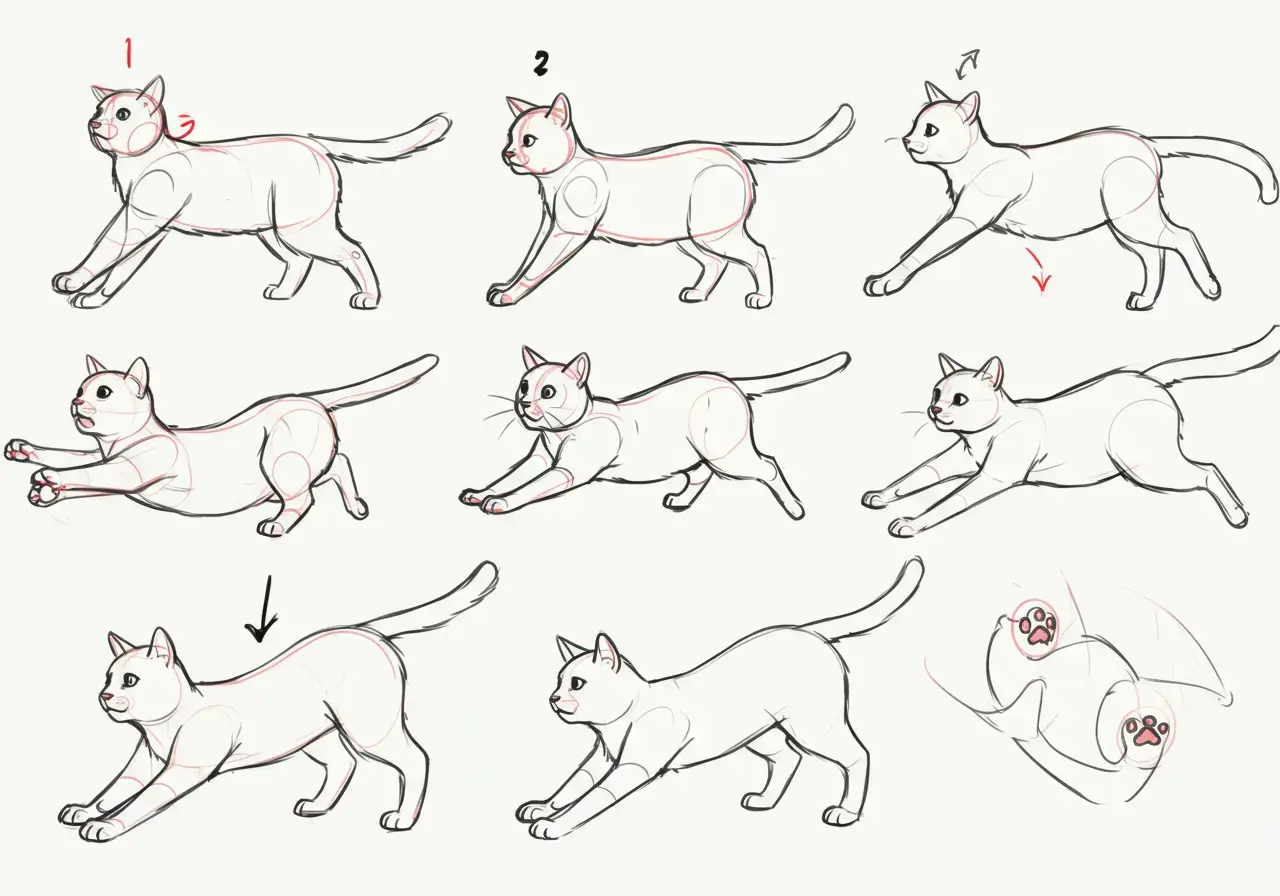
Think of a cat as a collection of simple shapes.
- Head: Start with a circle or an oval for the head.
Pro-Tip: Keep your initial lines super light. You’ll be erasing a lot!
Step 2: Defining the Form – Adding Limbs and Tail
Now we’re giving our cat some structure.
- Cats have fairly long, elegant legs!
- Paws: Roughly sketch circles or ovals at the end of each leg for the paws.
- Tail: Draw a curved line for the tail, giving it a gentle, natural flow. It often balances the cat.
Step 3: Face Time – Ears, Eyes, Nose, and Mouth
This is where your cat starts to get its personality!
- Ears: Add two triangular shapes on top of the head for the ears.
- Eyes: Sketch two almond or oval shapes for the eyes.
- Nose & Mouth: Below the eye line, draw an inverted triangle for the nose, and then two connecting lines forming a ‘W’ or ‘Y’ shape for the mouth.
Step 4: Refining Details – Fur, Whiskers, and Paws
- Fur Texture: Lightly add short, fine lines following the direction of the fur. Cats aren’t smooth spheres – they’re fluffy!
- Whiskers: From the muzzle area, draw delicate, long lines for the whiskers. They’re essential for a cat’s charm.
- Paws: Refine the paw shapes, adding small bumps for the toes. Some subtle lines can indicate claws (if visible).
Step 5: Shading and Finishing Touches
Time to bring your cat to life with depth and dimension.
- Light Source: Decide where your light source is coming from. This dictates where shadows will fall.
- Shading: Use your darker pencils (like 2B or 4B) to add shadows under the chin, on the belly, and where limbs meet the body. Build up layers gradually.
- Highlights: Use your kneaded eraser to gently lift graphite from areas that should be brighter, like the top of the head or a shiny nose.
- Details: Add pupils to the eyes, reflections if you like, and any distinctive markings from your reference photo.
Step | Focus |
1. & 2. | Basic construction & form |
3. & 4. | Features & subtle details |
5. | Adding depth, life, and personality |
Unleash Your Inner Artist: Beyond the Basics
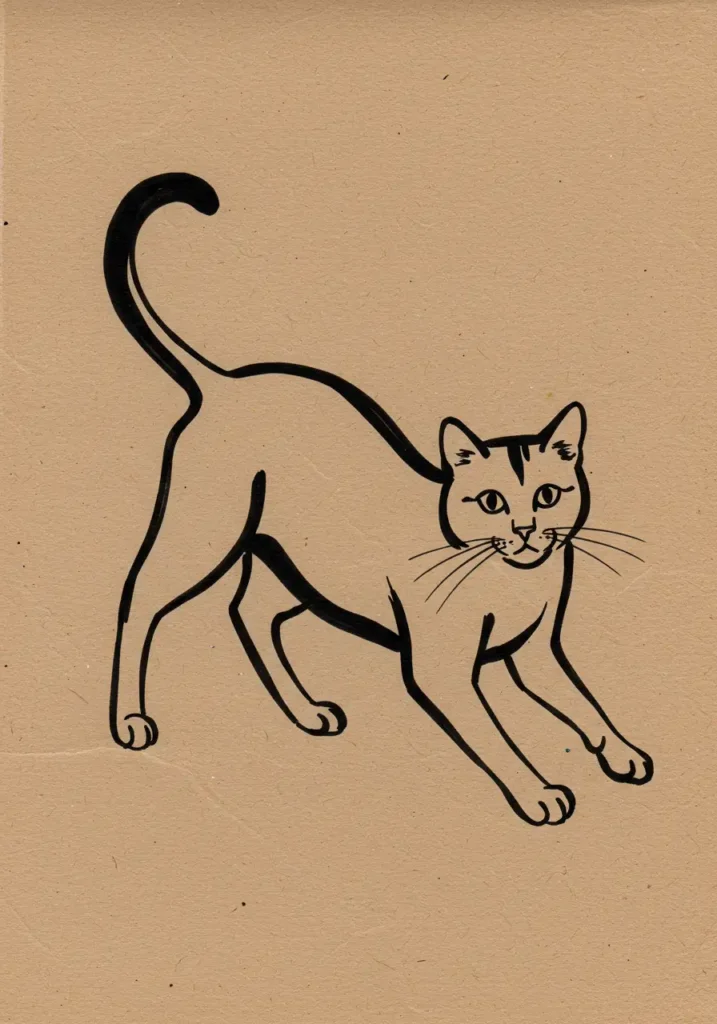
Once you’ve got the hang of basic cat drawing, the world is your oyster! Experiment with different breeds, poses, and even expressions. Don’t be afraid to try new mediums. Ever thought about using pet illustration software to digitize your creations? Or perhaps those lovely pastel pencils for pet portraits to add a soft, lifelike sheen? The possibilities for Cat Drawing are endless!
Frequently Asked Questions About Drawing Cats
Q1: What’s the biggest mistake beginners make when drawing cats?
A common one is trying to draw every single fur strand at once. Instead, focus on the overall shapes and values (light and shadow) first, then add texture later. Another biggie is skipping the reference photo – trust me, it makes a world of difference!
Q2: How can I make my cat drawings look more realistic?
Focus on proportions, observe your reference photo closely for subtle curves and forms, and practice shading to create depth. Learning about cat anatomy (even just the basics!) can also help your drawings feel more believable.
Q3: I’m struggling with the eyes. Any tips?
The eyes are the windows to the soul of your drawing! These small bright spots bring the eyes to life. Don’t make them flat circles; they’re more like spheres.
Q4: Are there any specific apps or software you recommend for digital cat drawing?
Absolutely! For beginners, something like Procreate (iPad),Clip Studio Paint (multi-platform), Krita (free, open-source) or even Adobe Fresco can be great starting points in pet illustration software. They offer a range of brushes and layers that make the digital drawing process lots of fun.
Q5: How often should I practice to see improvement?
Consistency is key! Even 15-30 minutes of dedicated practice a few times a week is more effective than one long session once a month. The more you draw, the faster your hand and eye coordination will improve, and your Cat Drawing skills will blossom!
So there you have it! Drawing a cat isn’t just about putting lines on paper; it’s about observing, understanding, and bringing a little bit of that feline magic to life. Keep practicing, have fun, and soon you’ll be sketching adorable kitties like a pro! Happy drawing!
If you enjoyed this guide, check out our other articles on mastering different animal illustrations and advanced shading techniques!

