How to Draw a Knight: Easy Step-by-Step Guide
Ever dreamt of bringing a valiant knight to life on paper? Perhaps you’ve been sketching out ideas for a new D&D character, or maybe you just love the aesthetic of shining armor and heroic deeds. Whatever your reason, mastering the art of Knight Drawing is a super rewarding skill. It’s not just about historical accuracy; it’s about capturing strength, valor, and a touch of fantasy. We’re going to walk you through everything you need to know, from the basic shapes to those intricate details, making sure your knight stands tall and proud.
Table of Contents
Why Draw a Knight? More Than Just Armor!
Knights are timeless figures, popping up in everything from ancient legends to modern video games. They represent courage, duty, and sometimes, a little bit of mystery. Learning to draw them isn’t just a fun pastime; it’s a fantastic way to sharpen your artistic skills. You’ll tackle perspective, proportion, texture, and character design all in one go. Plus, a good Knight Drawing can be the centerpiece of a cool illustration, a comic book panel, or even a precursor to a full-blown fantasy character design course.
Essential Tools for Your Knightly Quest
Don’t worry, you don’t need a king’s ransom worth of supplies!
Tool | Why You Need It |
Pencils | A variety of hardness (HB, 2B, 4B) for sketching and shading. |
Eraser | A good quality one – mistakes happen, no biggie! |
Paper | Something sturdy, not too flimsy. |
Reference Images | Crucial for understanding historical armor and poses. |
Optional: Inks | For outlining and making your knight pop. |
Optional: Tablet | best drawing tablet for artists helps. |
-drawing tablet for artists : It opens up a world of possibilities for layers, textures, and easily correcting errors.
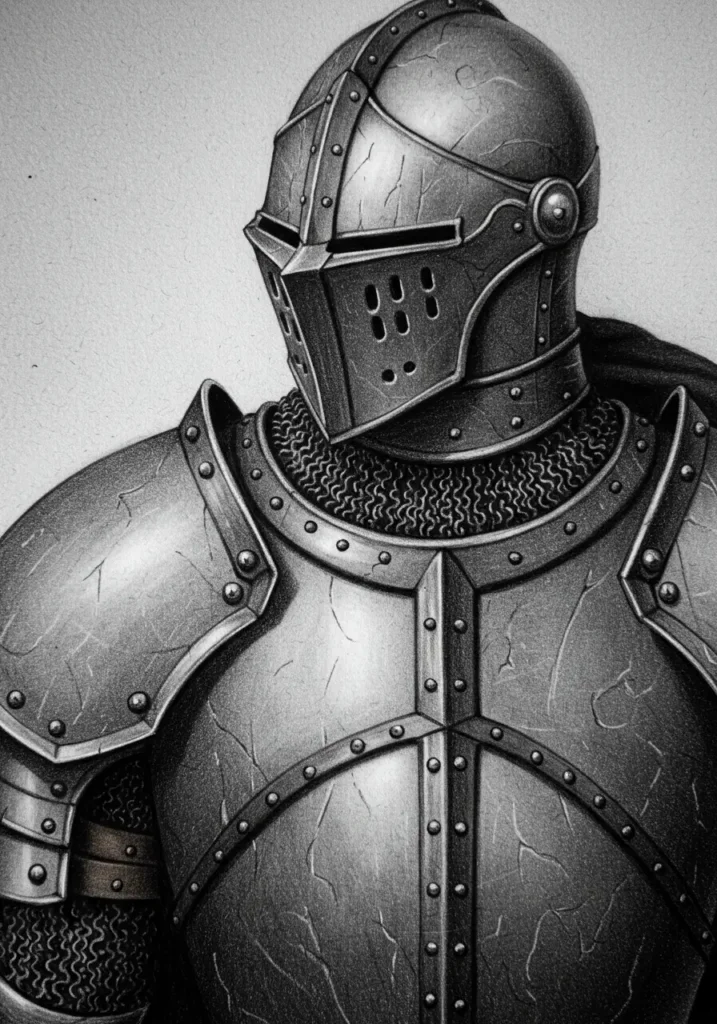
Step-by-Step Knight Drawing: From Skeleton to Sword
Alright, let’s get down to business! Here’s our step-by-step guide to creating an awesome knight.
Step 1: The Basic Structure – A Stick Figure with Ambition
Every great drawing starts with a simple foundation. Think of your knight as a glorified stick figure first.
- Head: Start with an oval for the head.
- Torso: A trapezoid for the upper body, narrowing slightly at the waist.
- Hips: A simple rectangle or oval for the pelvic area.
- Limbs: Straight lines for arms and legs, indicating joints with circles (shoulders, elbows, knees, ankles). Pay attention to proportions – knights are usually pretty darn tall and imposing!
This initial sketch is all about getting the pose right. Do you want your knight standing heroically, engaged in battle, or perhaps in a moment of quiet reflection?
Step 2: Bulking Up – Muscles and Form
Now, let’s add some meat to those bones! Don’t think anatomically perfect muscles, just volumetric shapes.
- Torso: Expand the trapezoid into a more defined chest and abdominal area.
- Limbs: Draw cylinders or elongated ovals around your stick lines to represent the thickness of the arms and legs. Think about where the joints will bend.
This stage is crucial for establishing the overall bulk and posture of your knight before they get decked out in armor.
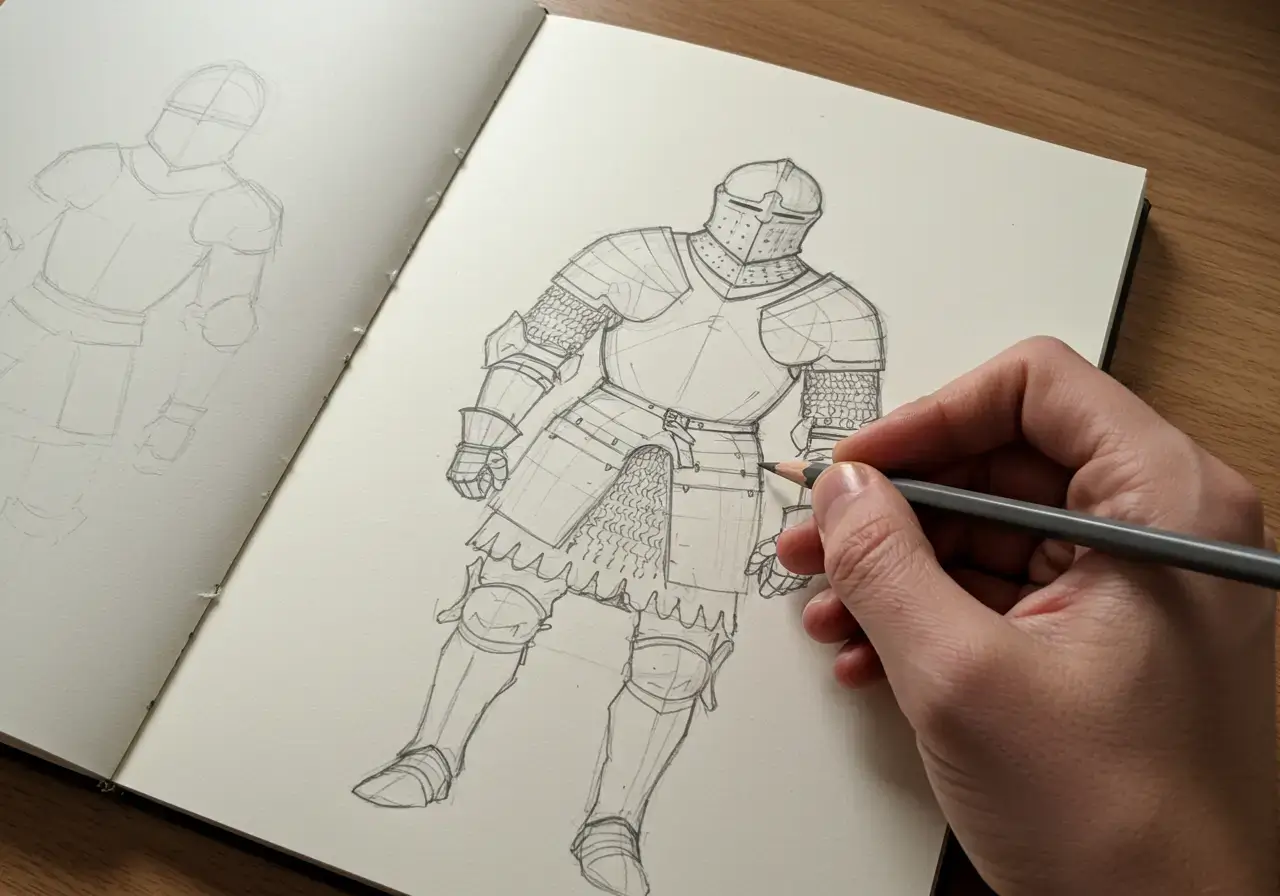
Step 3: Donning the Armor – The Metal Layer
This is where your Knight Drawing truly starts to take shape! Think of the armor as separate, interlocking pieces.
- Helmet: Start with the basic shape, then add details like the visor, plume, or eye slits.
- Shoulder Pads (Pauldrons): These are often large and rounded, protecting the shoulders.
- Chest Plate (Cuirass): This covers the torso. Break it down into the breastplate and backplate.
- Arm and Leg Armor: Think of segmented plates covering the arms (vambraces, poleyns) and legs (greaves, sabatons).
- Gauntlets: Don’t forget the hand protection!
Remember to make it look like thick, heavy material. Use slightly curved lines to suggest the metal’s form.
- Reflections: Use sharp, distinct lines to suggest light bouncing off the polished metal.
- Scratches/Dents: A few subtle marks can add history and battle-worn character.
- Straps and Buckles: These hold the armor together and add realism.
- Under-Layers: Don’t forget the padded gambeson or chainmail beneath the plate armor – visible at joints or neck.
Is your knight from a specific historical period, or is it a fantastical creation from a fantasy character design course? This will influence the design flourishes.
Step 5:
Shading is what gives your knight depth and dimension.
- Light Source: Decide where your light is coming from and shade accordingly. Areas facing the light will be brighter, and areas in shadow will be darker.
- Line Weight: Vary your line thickness. Thicker lines for areas closer to the viewer or to emphasize form, thinner lines for details.
- Clean Up: Erase any lingering sketch lines, refine your outlines, and add any final details.
Boom! You’ve got yourself a knight! Give yourself a pat on the back.
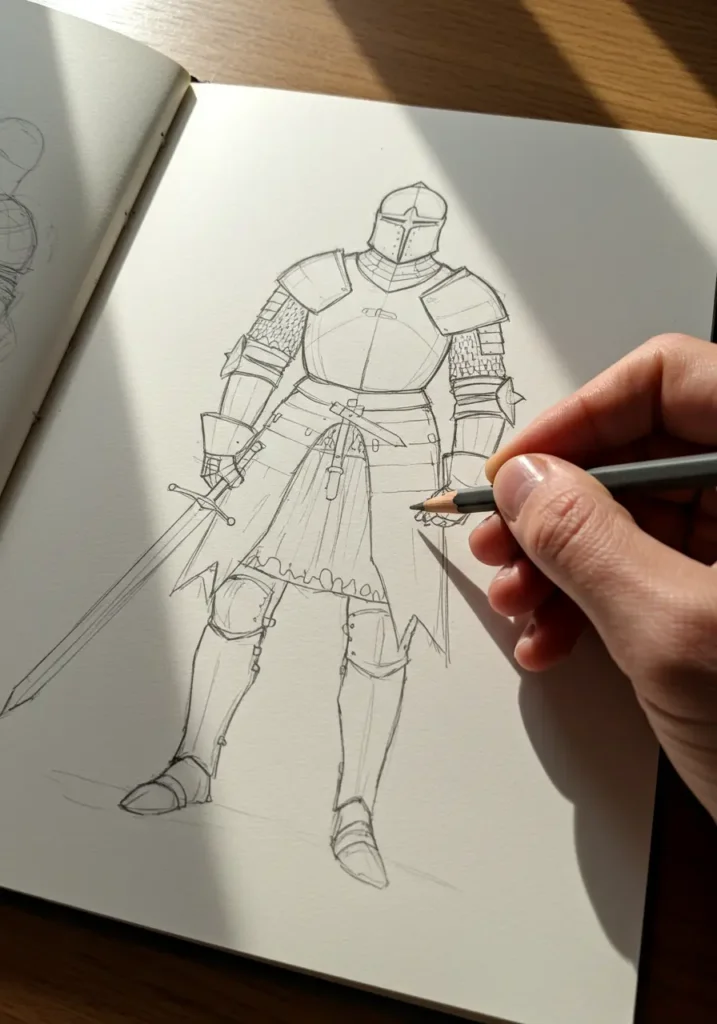
Unleash Your Inner Artist: Beyond the Guide
- Experiment with Poses: Try different stances – charging, guarding, or even just standing at ease.
- Explore Different Armors: From Roman legionaries to Samurai, medieval European armor is just one style.
- Add a Background: Give your knight a world to inhabit – a stormy battlefield, a serene castle courtyard, or a mystical forest.
- Character Backstory: What kind of knight are they? A noble protector, a fierce warrior, or a somber wanderer? Let their personality shine through their pose and details.
- Consider a Course! If you’re hooked, a dedicated fantasy character design course can teach you advanced techniques for creating unique and compelling characters, including knights!
Frequently Asked Questions About Drawing Knights
Q1: What’s the best way to make the armor look metallic and reflective?
To make armor look metallic, focus on sharp contrasts between light and dark. Think of the surface as a collection of planes that reflect light. Use distinct, often angular, highlights where light hits directly, and graduating tones or even pure black for deep shadows. A few tiny, super bright white spots can mimic specular highlights (the brightest reflections), really selling the metallic look.
Q2: How can I draw different types of knight helmets?
Different helmets offer distinct looks! For a classic medieval knight, think about the great helm (a flat-topped cylinder with eye slits), the bascinet (a more conical, fitted helmet), or the sallet (a sleek, often German-style helmet that extends to the neck with a visor). Look at historical references, and note the distinct shapes, visors, and breathing holes for each. It’s all about observing and simplifying their unique silhouettes.
Q3: Is it better to draw historical knights or fantasy knights?
Neither is “better” – it just depends on your goal! Historical knights require research into actual armor, weapons, and historical contexts, which is fantastic for realism and accuracy. Fantasy knights, on the other hand, give you immense creative freedom to design unique armor, incorporate magical elements, or invent entirely new aesthetics. Many artists blend both, using historical armor as a strong foundation for their fantastical creations.
Q4: What are some common mistakes to avoid when drawing knights?
A common mistake is making the armor look too flimsy or like clothing – remember, it’s heavy, rigid metal! Another is neglecting the underlying human form; even in armor, the knight needs to look like they have a body underneath. Also, don’t forget the consistent light source for shading, and avoid making all the armor pieces look identical. Varying the shapes and details adds visual interest.
Q5: Can I use basic shapes like cubes and cylinders to draw complex armor?
Absolutely, and you should! Breaking down complex forms into basic geometric shapes is a fundamental principle of drawing. A helmet might start as a cylinder with a cube for the visor, a shoulder pad as a rounded cube, and limbs as cylinders. This approach helps you get the perspective and volume right before you add the intricate details, making the entire process much more manageable and accurate.
Conclusion
Phew! You’ve officially embarked on your Knight Drawing journey. It’s an incredibly satisfying topic to explore, blending history, fantasy, and core drawing skills. Whether you aim to create epic battle scenes or quiet, contemplative portraits, the techniques we’ve covered will serve you well. So grab your pencil, fire up your best drawing tablet for artists if you’re going digital, and let your imagination run wild. Happy drawing, and may your knights forever be valiant!

