Easy Dog Drawing Tutorial for Beginners
Hey there, fellow animal lovers and aspiring artists! Ever tried to capture that wagging tail or those soulful puppy eyes on paper, only to end up with something that looks more like a potato with legs? Don’t sweat it! Dog drawing can seem a bit daunting at first, but trust me, it’s totally achievable, even if you think your artistic skills peaked with stick figures. . Get ready to unleash your inner artist and create some adorable canine masterpieces!
Table of Contents
Why Learn to Draw Dogs?
So, why bother learning how to sketch out our furry best friends? Well, for starters, it’s super rewarding! Imagine being able to capture your own furball’s personality, or even create a special gift for a dog-loving pal. Plus, dog drawing is a fantastic way to improve your overall artistic skills. Dogs come in all shapes and sizes, from tiny Chihuahuas to majestic Great Danes, offering endless opportunities to practice different textures, forms, and expressions. And let’s be real, who doesn’t love looking at cute doggo art? Some folks even turn this passion into custom pet portrait commissions, which is a pretty cool gig if you ask me!
Getting Started: Your Drawing Toolkit
Think of it as your personal art starter pack!
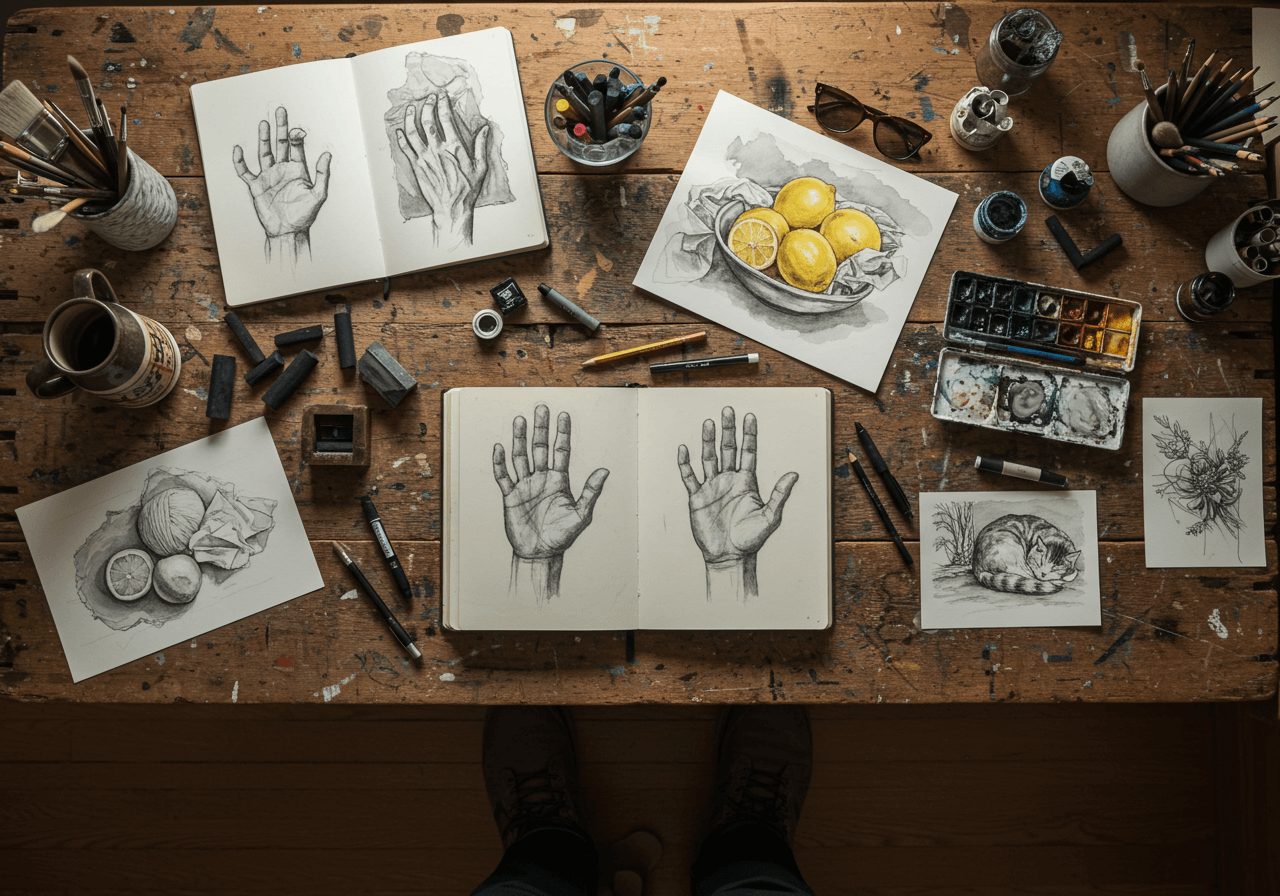
Essential Supplies:
Item | Why you need it! |
Pencils | HB for light sketches, 2B-4B for darker lines and shading. |
Eraser | A good quality kneaded or vinyl eraser. Mistakes happen, no biggie! |
Paper | Standard sketch paper is perfect; nothing too slick or too rough. |
Blending Stump | For smooth shading – makes your drawing look pro! |
And if you’re feeling fancy and want to add some pop, consider some colored pencils for realism. They can really bring your dog to life!
The Basic Shapes: Building Your Dog
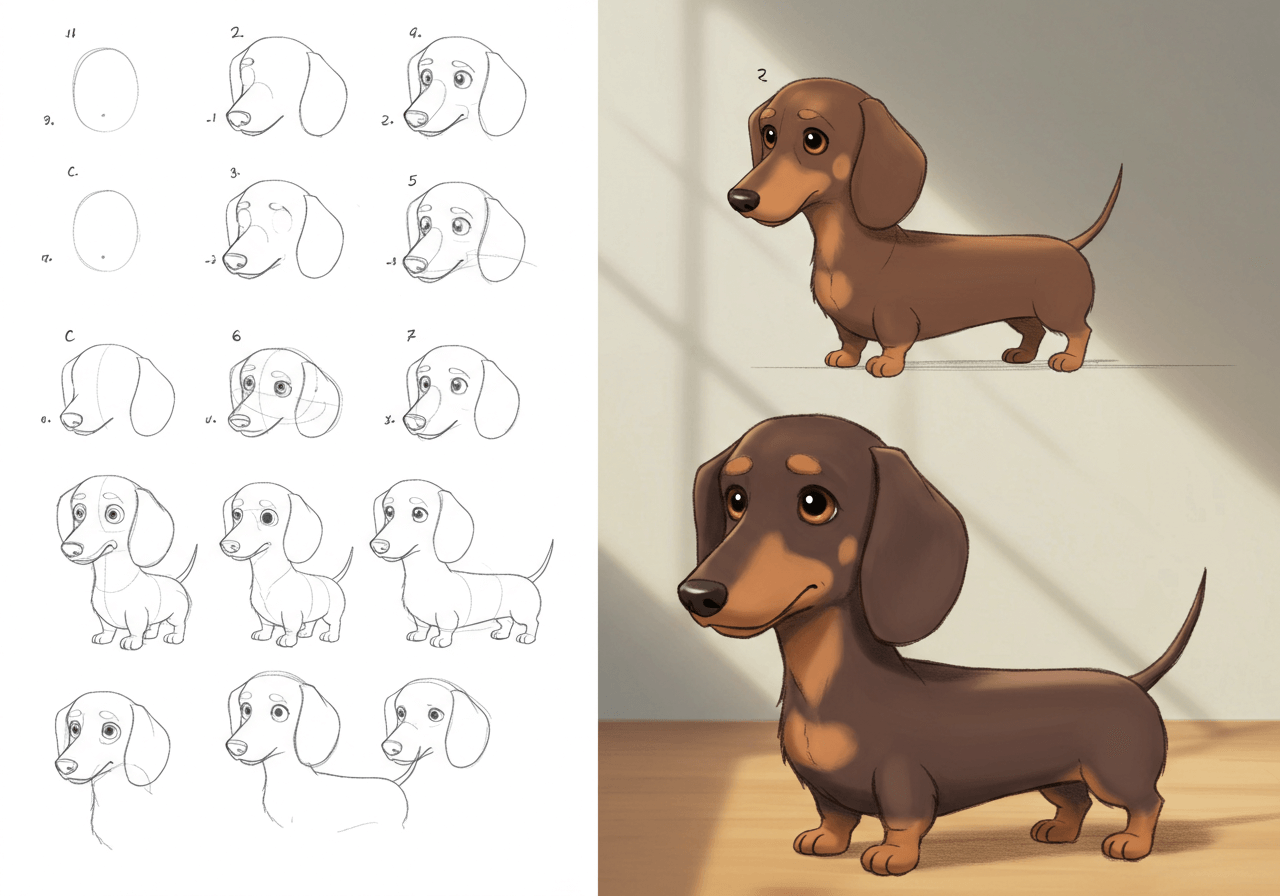
Okay, let’s get down to business! The secret to any good dog drawing is starting with simple shapes. Think of it like building blocks for your doggo.
- Head First: Start with a circle or an oval for the head.
- Legs Ahoy! Sketch in lines for the legs. Think of them as straight lines at first, then add ovals for the joints and paws. Remember, dogs have four legs (usually!).
- Tail Tale: Don’t forget the tail!
Once you have these basic shapes down, you’ve got the skeleton of your dog. Pretty cool, right?
Adding Details: Bringing Your Dog to Life
Now for the fun part – turning those shapes into a recognizable furry friend!
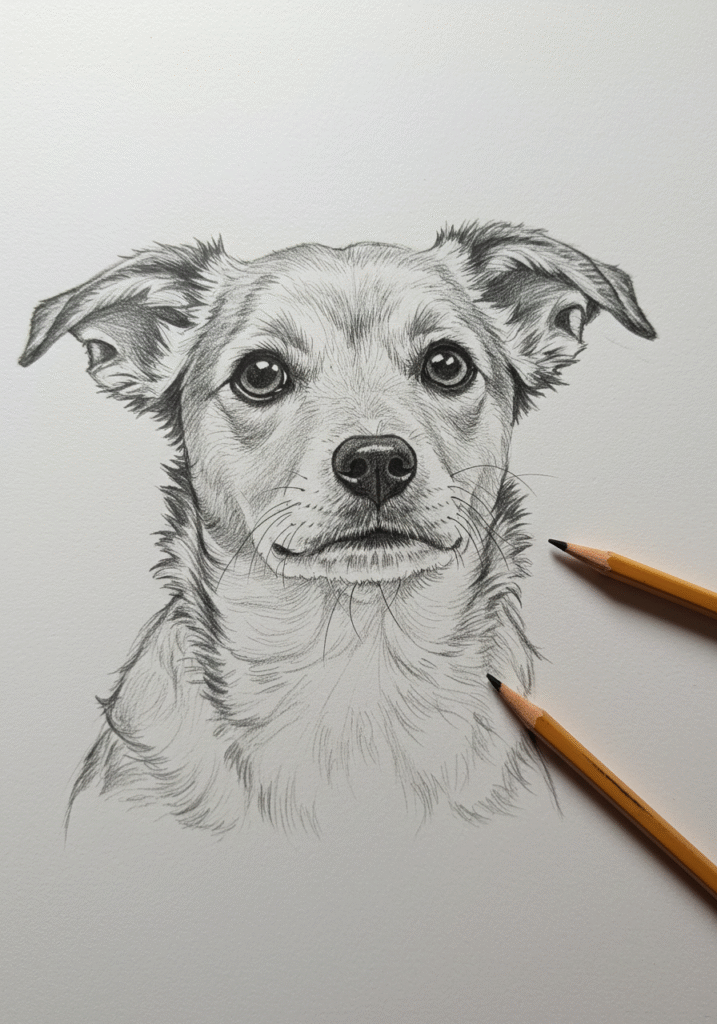
- Ears: Dogs have all sorts of ear shapes – perky points, floppy folds, tiny nubs. Pick a style that fits your imagined breed.
- Muzzle & Nose: Add a snout to the head circle, then sketch in an inverted ‘V’ for the nose. Don’t forget those cute nostrils!
- Eyes: The eyes are the window to the soul, even in a drawing! Almond shapes work well, then add pupils and highlights to make them sparkle. A good tip for lifelike eyes is to add a tiny white dot for the light reflection.
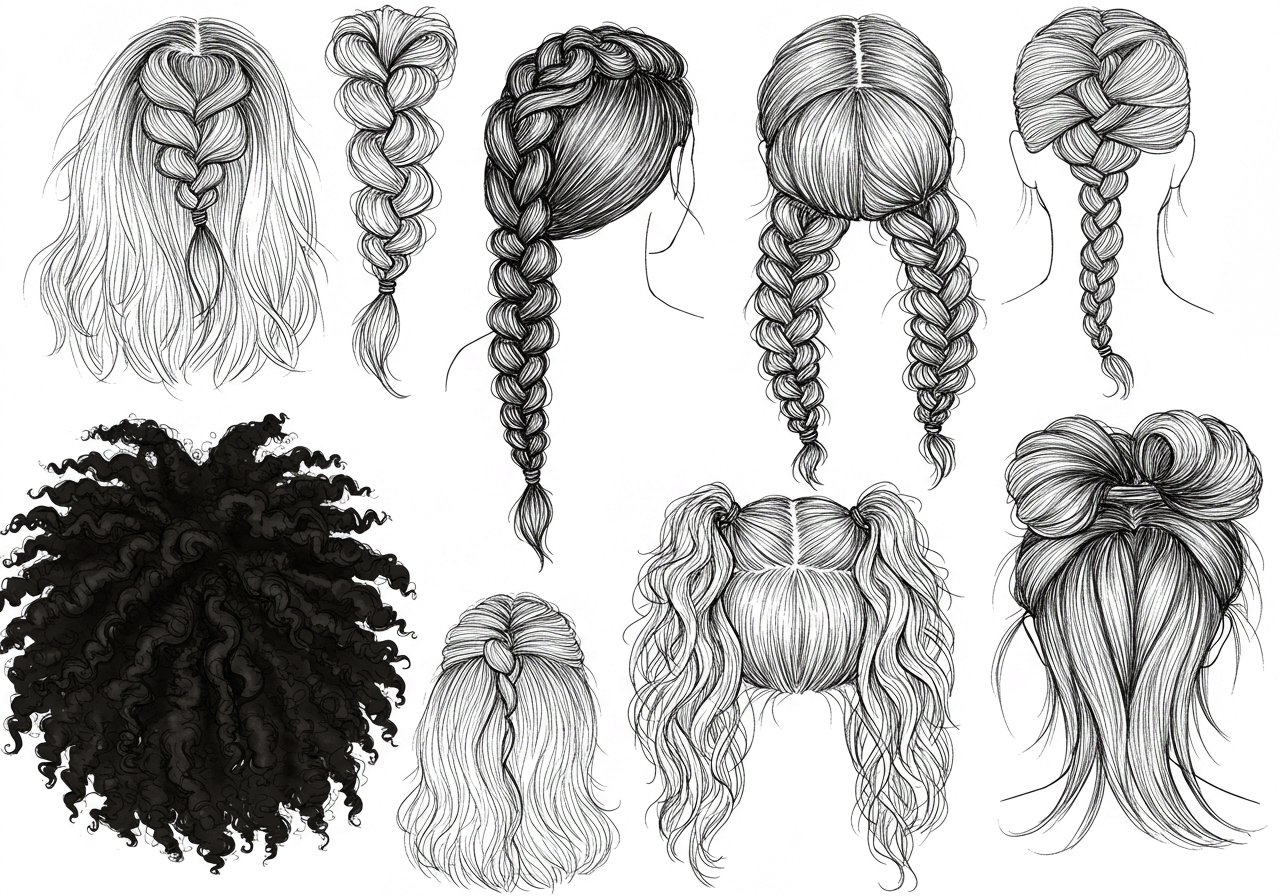
- Fur Texture: This is where shading comes in handy. For longer fur, use longer strokes. . This is also where those colored pencils for realism can really shine, giving depth and dimension to the coat.
Shading & Finishing Touches
Identify where your light source is coming from and shade the opposite areas accordingly. Think about the shadows under the chin, behind the legs, and where the fur is denser. Use your blending stump to create smooth transitions. Don’t be afraid to go dark in some areas to create contrast – it makes a huge difference!
And finally, take a step back. A cute collar? A playful tongue? These little things can make your dog drawing truly unique.
Advanced Tips for Aspiring Pet Artists
If you’re really getting into this and maybe even dreaming of those custom pet portrait commissions, here are a few extra nuggets of wisdom:
- Observe Real Dogs: Seriously, watch how dogs move, how their fur lays, their different expressions. Take photos for reference!
- Practice Different Breeds: Each breed has unique characteristics. Drawing a pug is very different from drawing a greyhound. This variety helps hone your skills.
- Don’t Be Afraid to Experiment: Try different pencil pressures, blending techniques, and even different types of paper.
- Patience is Key: Drawing takes time and practice. Every stroke is a learning experience!
Frequently Asked Questions About Dog Drawing
Q1: What’s the best way to get proportion right when drawing a dog?
A1: Start with very light geometric shapes – circles, ovals, and lines – to establish the basic silhouette and size relationships of the head, body, and limbs. Think of it like building a skeleton before adding the flesh. Constantly compare the size of one part to another. Using a reference photo and lightly sketching grid lines over it (and on your paper) can also be super helpful for getting proportions spot on!
Q2: How do I make my dog drawing look more realistic, especially the fur?
A2: For realistic fur, it’s all about layering and direction. First, observe the direction the fur grows on your reference dog. Then, use short, overlapping strokes in that same direction. Start with lighter pencil pressure for the base layers, gradually building up darker tones and texture. Don’t draw individual hairs; instead, focus on clumps and strands. Using colored pencils for realism allows you to add different hues and depths, making the fur look incredibly lifelike. Also, remember to leave some highlight areas for shine!
Q3: My dog drawings always look stiff. How can I make them more dynamic?
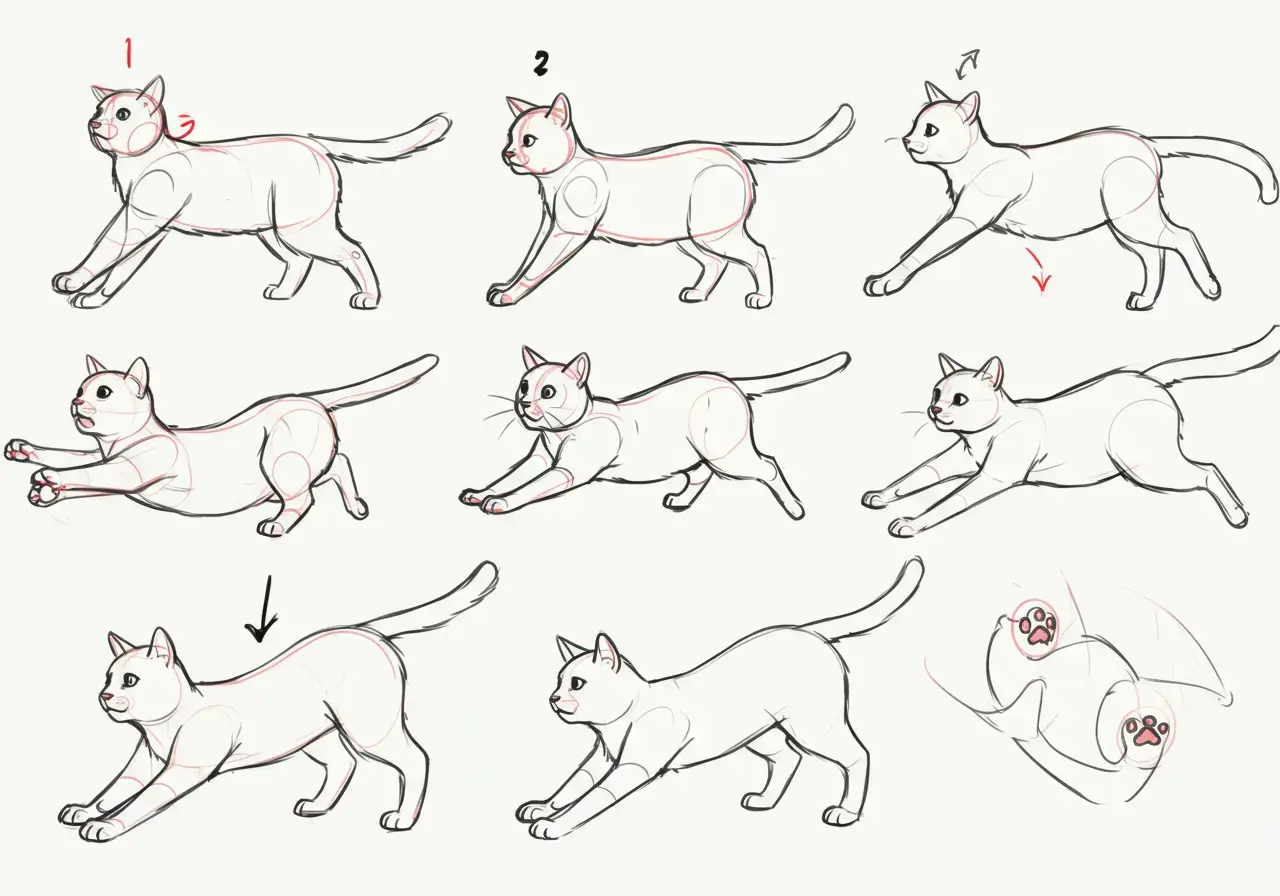
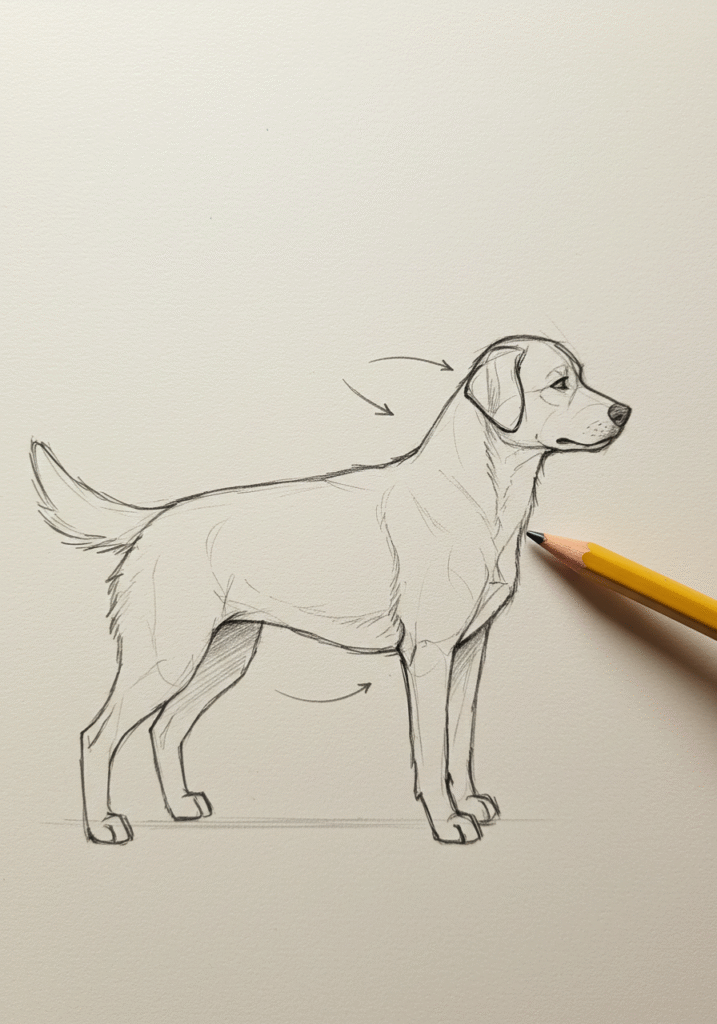
A3: To avoid stiff drawings, focus on the “line of action” when you start. This is an imaginary curved line that captures the overall flow and energy of the dog’s pose. Exaggerate the natural curves of the spine or the bend of the legs slightly. Also, don’t be afraid to experiment with different angles and perspectives, and observe how a dog’s weight shifts and
its muscles flex in various stances.
Q4: Is it better to draw from a photo or from a live dog?
A4: Both have their advantages! Drawing from a photo is great because the subject stays perfectly still, allowing you to focus on details and proportions without a constantly moving target. It’s fantastic for practice and refining details. However, drawing from a live dog (even if it’s just observing them playing) gives you a much better understanding of their three-dimensional form, movement, and personality. It helps you develop a more intuitive feel for their anatomy. Ideally, use a combination of both: observe live dogs for general understanding and use photos for detailed studies.
Q5: What’s a good way to practice shading and making my dogs look 3D?
A5: The key to 3D effects is understanding light and shadow. Pick a consistent light source for your drawing. Every form casts a shadow. Start by shading the darkest areas (cast shadows and areas furthest from the light), then gradually blend outwards towards the lighter areas.Practice drawing basic 3D shapes (spheres, cubes, cylinders) with light and shadow before applying it to your dog drawings. This helps you understand how light wraps around forms, making your dog drawing much more believable and dimensional.
Ready to Draw Your Own Masterpiece?
So there you have it! Dog drawing doesn’t have to be a daunting task. With a little bit of patience, some basic shapes, and a willingness to play around, you’ll be sketching adorable pups in no time. Whether you’re just learning for fun or dreaming of those lucrative custom pet portrait commissions, every stroke brings you closer to your artistic goals. Grab your pencils, find a comfy spot, and let’s get drawing. Trust me, it’s a lot more fun than trying to teach a cat to fetch! Happy drawing, dog lovers!

